Getting Started with SecureNow and Next.js — Automatic Security Monitoring in Under 2 Minutes
Step-by-step guide to adding security observability to your Next.js application using the securenow npm package. Covers CLI authentication, free trial setup, automatic and manual instrumentation, Vercel deployment, and dashboard verification.

Getting Started with SecureNow and Next.js — Automatic Security Monitoring in Under 2 Minutes
Next.js makes building full-stack web applications easy. But once your app is live — handling user logins, processing payments, serving API routes — you need to know what is actually happening inside it. Not just how fast a page renders, but who is requesting it, whether those requests look legitimate, and what they are trying to do.
SecureNow plugs directly into Next.js's built-in instrumentation hook to capture every server-side request as an OpenTelemetry trace. Those traces feed into a security-focused analysis engine that detects injection attacks, credential stuffing, API abuse, and traffic anomalies — all without a WAF, a proxy, or any changes to your route handlers.
This guide covers the full flow: installing the package, logging in through the CLI, creating an app on the free trial, enabling instrumentation, and confirming everything works.
Prerequisites
- Node.js 18+
- A Next.js 13.4+ project (App Router or Pages Router)
- A terminal and a browser
No account yet? The CLI handles signup for you.
Step 1: Install SecureNow
npm install securenow
During installation, the postinstall script detects your Next.js project and offers to create the instrumentation.ts file automatically:
? Create instrumentation.ts for Next.js? (Y/n) Y
✔ Created instrumentation.ts
If you answered Y, your instrumentation file is already in place — skip ahead to Step 4. If you answered n or the prompt didn't appear, the manual setup in Step 5 covers you.
Step 2: Log In via the CLI
Authenticate with SecureNow from the terminal:
npx securenow login
Your default browser opens the SecureNow login page at app.securenow.ai. Sign up or log in, and the CLI receives a token automatically. It is stored at ~/.securenow/credentials.json.
Headless / CI alternative: Generate a token from Dashboard → Settings → CLI Token, then:
npx securenow login --token YOUR_TOKEN
Confirm you are authenticated:
npx securenow whoami
Step 3: Create an Application (Free Trial)
Create a named application that will collect your traces:
npx securenow apps create my-nextjs-app
When prompted to select a ClickHouse instance, choose Free Trial. This gives you a fully managed OTLP endpoint at https://ingest.securenow.ai with no credit card and no time pressure.
The CLI prints the credentials you need:
✔ Application created

  SECURENOW_APPID=b9c8d7e6-f5a4-3210-9876-543210fedcba
  SECURENOW_INSTANCE=https://ingest.securenow.ai

Add these to your .env.local file.
Set it as the default app for CLI commands:
npx securenow config set defaultApp b9c8d7e6-f5a4-3210-9876-543210fedcba
Step 4: Configure Environment Variables
Create a .env.local file in your project root (Next.js loads this automatically and excludes it from Git):
SECURENOW_APPID=b9c8d7e6-f5a4-3210-9876-543210fedcba
SECURENOW_INSTANCE=https://ingest.securenow.ai
| Variable | Purpose |
|---|---|
SECURENOW_APPID | Your app's unique key from Step 3. |
SECURENOW_INSTANCE | OTLP collector URL. Free trial endpoint shown above. |
Optional extras:
SECURENOW_LOGGING_ENABLED=1
SECURENOW_CAPTURE_BODY=1
SECURENOW_LOGGING_ENABLED=1 forwards server-side console output as OTel logs alongside your traces. SECURENOW_CAPTURE_BODY=1 attaches request bodies to trace spans (with automatic redaction of passwords, tokens, and card numbers).
Step 5: Set Up Instrumentation
If the automatic installer already created instrumentation.ts in Step 1, you can skip this step entirely. Otherwise, pick one of these methods:
Option A: CLI Scaffold
npx securenow init
This creates instrumentation.ts (or .js if your project is JavaScript-only) and a .env.local template.
Option B: Manual File
Create instrumentation.ts at the root of your project (same level as next.config.js):
import { registerSecureNow } from 'securenow/nextjs';

export function register() {
  registerSecureNow();
}
That is the entire file. Next.js calls the register() export automatically when the server starts.
Next.js 14 Only: Enable the Instrumentation Hook
If you are on Next.js 14, add this to your next.config.js:
module.exports = {
  experimental: {
    instrumentationHook: true
  }
};
Next.js 15+ has instrumentation hooks enabled by default — no config change needed.
Step 6: Run and Verify
Start the dev server:
npm run dev
Look for the confirmation line in your terminal output:
[securenow] ✅ OpenTelemetry started for Next.js
Navigate to a couple of pages in your browser to generate traces, then check from the terminal:
npx securenow status
Your app should show as protected. Browse traces directly:
npx securenow traces
Or open app.securenow.ai to explore the full dashboard — traces, logs, security issues, analytics, and more.
Bonus: Handy CLI Commands
| Command | What It Does |
|---|---|
securenow traces | List recent traces |
securenow traces analyze <traceId> | AI-powered trace breakdown |
securenow logs | List recent log entries |
securenow issues | View detected security issues |
securenow analytics | Traffic and performance stats |
securenow ip <address> | Look up an IP address |
securenow blocklist add <ip> | Block a suspicious IP |
securenow alerts rules | Manage alert rules |
securenow forensics | Natural-language forensic queries |
securenow api-map | Discovered API endpoint map |
Deploying to Production
Vercel
Add your environment variables in the Vercel dashboard:
- Go to Project Settings → Environment Variables
- Add
SECURENOW_APPIDandSECURENOW_INSTANCE - Optionally add
SECURENOW_LOGGING_ENABLED=1 - Redeploy
SecureNow detects the Vercel runtime automatically and uses @vercel/otel for optimized trace export.
Docker / Self-Hosted
FROM node:20-alpine
WORKDIR /app
COPY package*.json ./
RUN npm install
COPY . .
RUN npm run build
ENV SECURENOW_APPID=my-nextjs-app
ENV SECURENOW_INSTANCE=https://ingest.securenow.ai
ENV SECURENOW_LOGGING_ENABLED=1
ENV NODE_ENV=production
EXPOSE 3000
CMD ["npm", "start"]
Or pass environment variables through docker-compose.yml:
services:
  nextjs-app:
    build: .
    ports:
      - "3000:3000"
    environment:
      - SECURENOW_APPID=my-nextjs-app
      - SECURENOW_INSTANCE=https://ingest.securenow.ai
      - SECURENOW_LOGGING_ENABLED=1
PM2
// ecosystem.config.js
module.exports = {
  apps: [{
    name: 'my-nextjs-app',
    script: 'node_modules/.bin/next',
    args: 'start',
    env: {
      SECURENOW_APPID: 'my-nextjs-app',
      SECURENOW_INSTANCE: 'https://ingest.securenow.ai',
      SECURENOW_LOGGING_ENABLED: '1',
      NODE_ENV: 'production',
    }
  }]
};
What Gets Monitored Automatically
With instrumentation enabled, SecureNow captures and analyzes:
- API Routes — every handler in
app/api/orpages/api/ - Server Components — data fetching, rendering, and streaming
- Server-Side Rendering —
getServerSideProps,generateMetadata, and dynamic renders - Middleware — Next.js edge and node middleware execution
- Database Queries — Prisma, Drizzle, pg, mysql2, mongoose, and more via auto-instrumentation
- External HTTP Calls — fetch, axios, and other outbound requests
- Authentication Events — login attempts, session checks, authorization failures
On the security side, SecureNow watches for:
- SQL injection and NoSQL injection patterns
- Cross-site scripting (XSS) payloads in parameters and bodies
- Credential stuffing and brute-force authentication attacks
- API abuse — scraping, enumeration, rate-limit evasion
- Anomalous traffic patterns flagged by AI analysis
- Unexpected outbound connections (supply-chain signals)
Advanced: Request Body Capture with Middleware
For deeper visibility into request payloads (useful during development and staging), you can add SecureNow's Next.js middleware:
// middleware.ts
export { default } from 'securenow/nextjs-middleware';
This pairs with SECURENOW_CAPTURE_BODY=1 in your environment to attach request bodies to spans. Sensitive fields like passwords, tokens, and credit card numbers are redacted automatically. Add custom fields to redact with:
SECURENOW_SENSITIVE_FIELDS=internal_token,session_key
Recap
| Step | Command / Action | Time |
|---|---|---|
| Install | npm install securenow (say Y to auto-setup) | 15 s |
| Login | npx securenow login | 20 s |
| Create app | npx securenow apps create my-nextjs-app | 15 s |
| Configure | Add two env vars to .env.local | 15 s |
| Verify | npm run dev → check for confirmation line | 15 s |
If the auto-installer created instrumentation.ts for you, the whole process is under two minutes. Even the manual path takes less than five.
Next Steps
- Open the SecureNow dashboard to explore traces, logs, and detected issues
- Set up alert rules to get notified about security events
- Run
npx securenow forensicsto query your traffic in natural language - Read the full Next.js guide for body capture, custom logging, Vercel-specific options, and more
Your Next.js app is now observable, protected, and ready for production.
Frequently Asked Questions
Does SecureNow work with the Next.js App Router?
Yes. SecureNow uses the official Next.js instrumentation hook (instrumentation.ts) which is fully supported in both the App Router and Pages Router. Server Components, API routes, and middleware are all auto-instrumented.
Will this slow down my Next.js app?
No. OpenTelemetry instrumentation adds less than 1% overhead in most applications. SecureNow runs entirely server-side and does not inject any client-side JavaScript (unless you enable the optional free-trial banner).
Does SecureNow work on Vercel?
Yes. On Vercel, SecureNow automatically uses @vercel/otel under the hood for optimized trace export. Just add your environment variables in the Vercel dashboard and deploy.
What's the difference between the automatic installer and securenow init?
The automatic installer runs during npm install (postinstall hook) and offers to scaffold instrumentation.ts for you. securenow init does the same thing as an on-demand CLI command — useful if you skipped the postinstall prompt or want to regenerate files.
Recommended reading
SecureNow 8.1 adds `securenow alerts rules create` — define your own detection rules from SQL, scope them to your apps, and ship them without leaving the terminal. Here's how, with a real magic-link brute-force example.
Jun 11A copy-paste prompt that lets an AI coding agent install SecureNow, wire Next.js instrumentation, verify traces and logs, deploy to AWS, simulate attacks, and prove firewall blocking with human approval gates.
May 18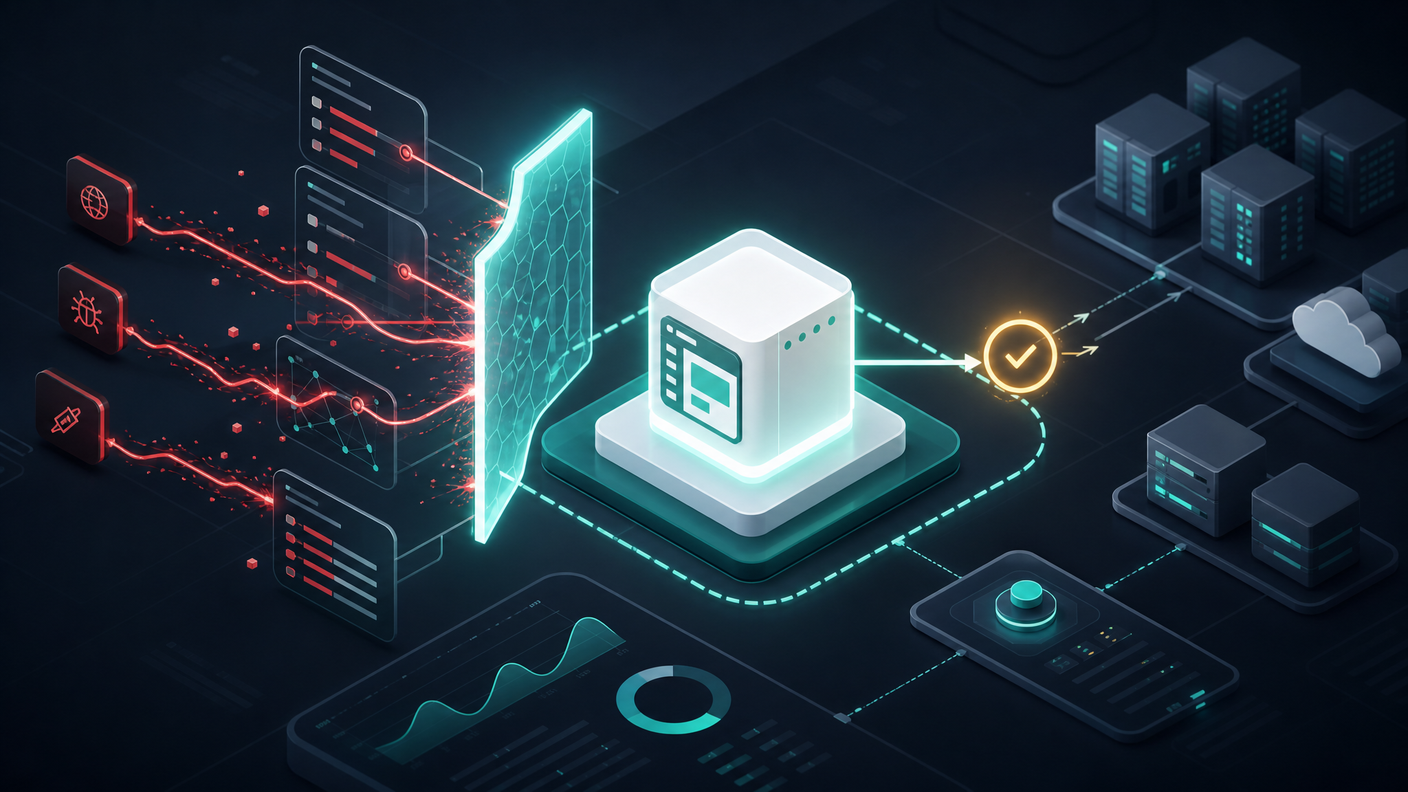
If your team uses Sentry for frontend errors and needs backend distributed tracing without doubling the Sentry bill, here's the OpenTelemetry path that doesn't make you choose.
May 9